

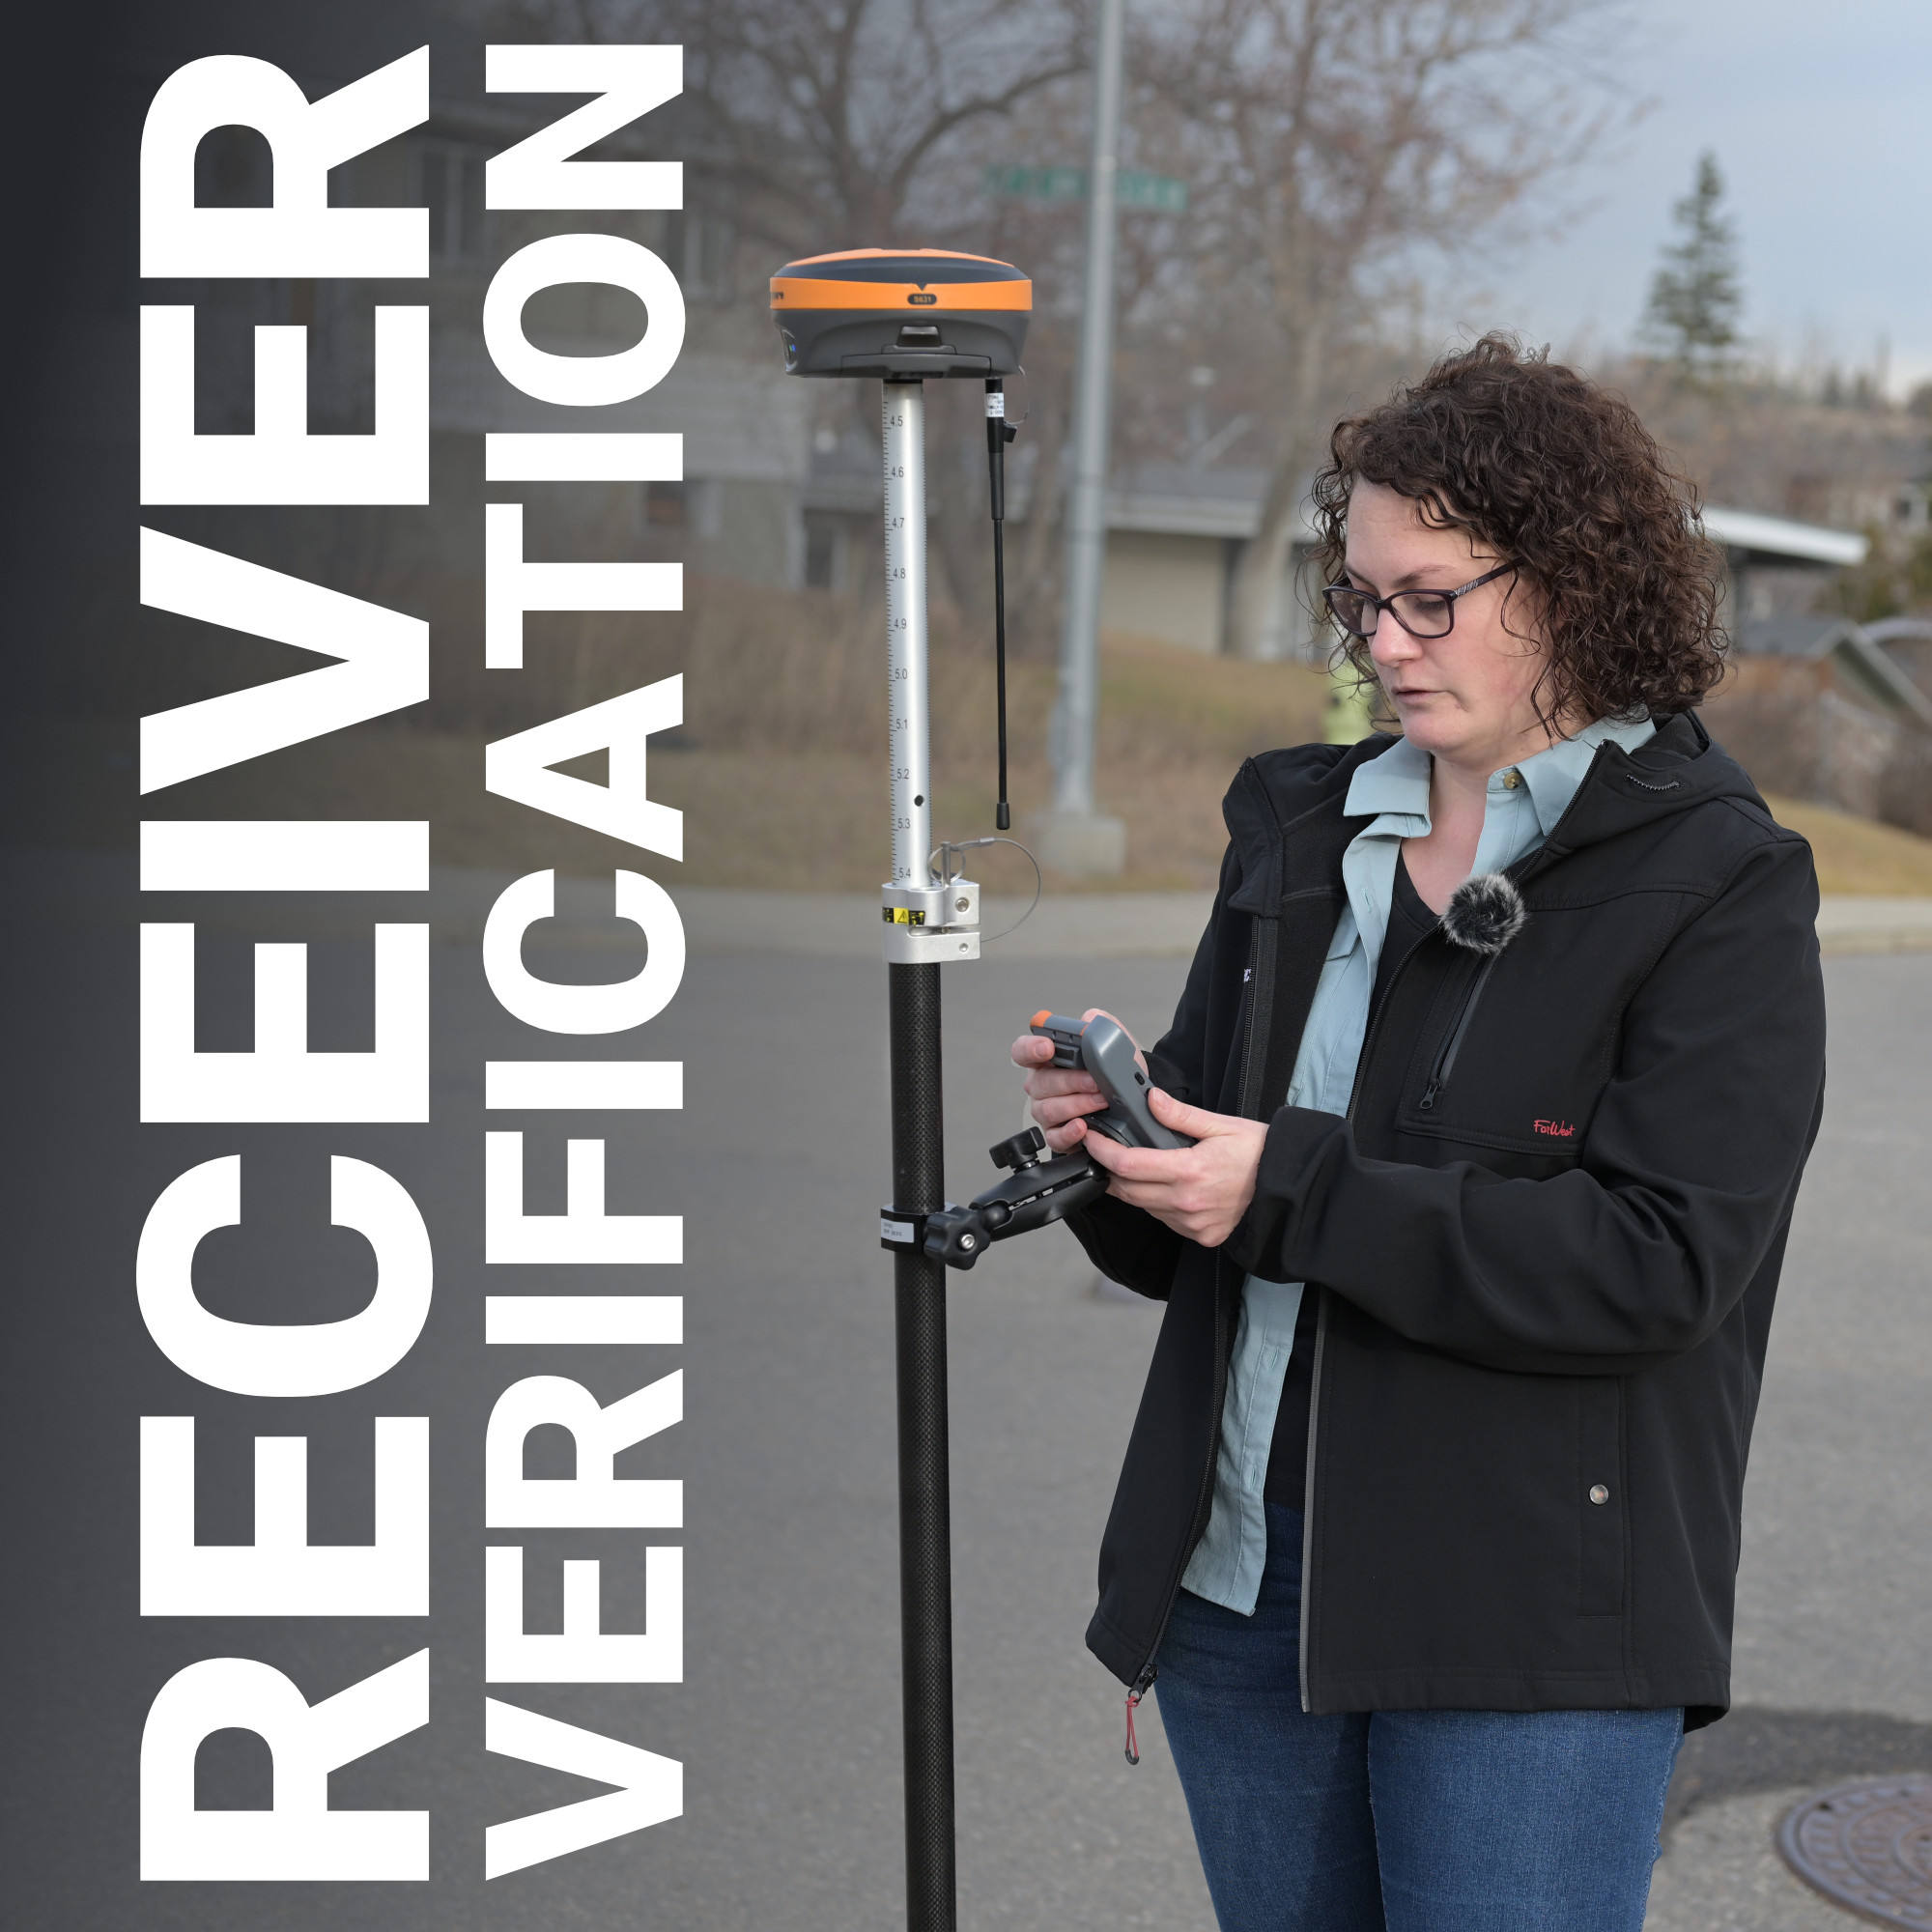
Quick answer: GNSS receiver testing means checking a receiver’s real-world accuracy against a known, verified coordinate rather than trusting the estimate shown on screen. In Canada, the most reliable method uses NRCan’s CSRS monuments or CSRS-PPP to establish control, then comparing the receiver’s averaged output against that known point for both horizontal and vertical accuracy. Running this check regularly, not just once at setup, catches datum errors, drift, and configuration problems before they reach a deliverable.
A GNSS receiver that reports 8mm horizontal accuracy on its screen is not the same as a receiver actually delivering 8mm on the ground. That number is a self-reported estimate, calculated from satellite geometry, correction age, and fix status, not a guarantee tied to a known point in space. The only way to know what a receiver is truly capable of is to put it on a coordinate someone already trusts and see how close it comes. That single practice, testing against known control, separates crews who catch a configuration error before it costs them a week of rework from crews who find out three months later that an entire subdivision was staked off a bad datum.
Why Self-Reported Accuracy Is Not Enough
Testing Against a Known Control Point
Finding Control Points in Canada
What to Watch For During Verification
Making Verification a Routine, Not a One-Time Step
Trust the Coordinate, Not the Screen
Every GNSS receiver calculates and displays an estimated accuracy figure in real time, based on satellite count, PDOP, correction age, and fix status. That figure tells a surveyor how the receiver believes it is performing, not how it is actually performing relative to true position. A receiver can report a solid RTK fix and a tight horizontal estimate while still sitting on the wrong datum, using a misconfigured coordinate system, or drifting slightly due to a poor antenna setup.
This distinction matters most on projects where the deliverable feeds directly into legal or construction decisions: property boundaries, utility staking, or as-built documentation. An error that looks fine on the data collector screen can turn into a costly field dispute once someone else re-measures the same points with different equipment.
The most reliable way to verify receiver performance is to occupy a point with an already-established, high-accuracy coordinate and compare the receiver’s output against it. This confirms two things simultaneously: whether the hardware itself is achieving the accuracy it claims, and whether the data-collection software is configured correctly, meaning the right datum, coordinate system, and location profile are all set before fieldwork begins.
A basic verification workflow looks like this:
Running this check before a project starts, and repeating it on a regular schedule, catches problems while they are still cheap to fix.
Surveyors in Canada have a strong resource for this kind of verification through Natural Resources Canada. NRCan maintains the Canadian Spatial Reference System (CSRS), which includes a network of published monuments with high-confidence coordinates, along with CSRS-PPP, a free post-processing service that lets a crew submit static GNSS data and receive back a precise coordinate for a point they establish themselves.
For crews without a nearby public monument, the same approach used to establish a private survey monument works well here: set a permanent mark, run a static occupation of at least a couple of hours, submit the raw data to CSRS-PPP, and use the returned coordinate as an ongoing reference point for equipment checks. Once that reference exists, it becomes part of the regular verification routine rather than a one-time exercise.
Bench-Mark walks crews across Canada through this exact process when setting up new equipment, since a properly established local control point saves a lot of back-and-forth later in a project.
A few conditions can make a verification check look worse, or better, than the receiver actually is, and it helps to know the difference before drawing conclusions:
Choosing a proper receiver setup in the first place, including a well-matched antenna and data collector, reduces how often these issues show up during testing. Crews comparing options can review GNSS receivers and RTK equipment built for consistent field performance across varied Canadian site conditions.
The biggest mistake crews make with receiver testing is treating it as a setup task rather than an ongoing habit. Equipment that checked out fine six months ago can still develop issues: a damaged antenna connector, a firmware update that shifted a default setting, or a data collector profile that got altered during a software update. A quick check against a known point, run weekly or monthly depending on how heavily the equipment is used, catches these problems long before they show up in a client deliverable.
Bench-Mark recommends building this into a standard field checklist rather than leaving it to memory, since the crews with the fewest accuracy disputes are consistently the ones who tested before they trusted.
A GNSS receiver’s display will always tell a confident story about its own performance. Verified accuracy tells a different one, and it is the only version that holds up when a client, a municipality, or another survey crew checks the work later. Building a habit of testing against known control, logging the results, and repeating the check regularly turns accuracy from an assumption into something a crew can actually prove.
