

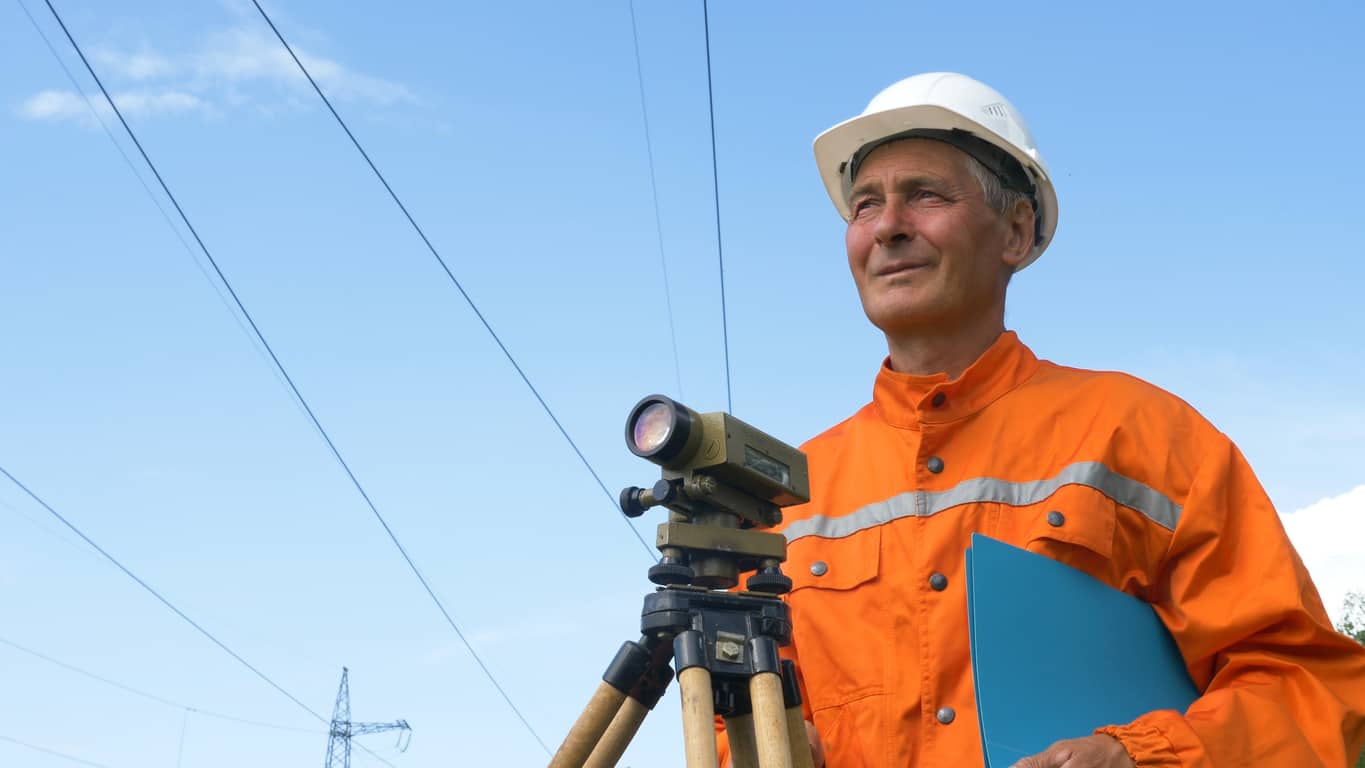
Dumpy levels or a builders level is one of those basic tools that every surveyor should have the know how, on how to use. Unlike a lot of other equipment used by surveyors, such as RTK receiver systems, a builders level only takes measurements in one plane, the vertical plane. A dumpy level is a cost effective, and easy way to quickly measure vertical grades with relative ease. To understand how a builder’s level works, we must understand what parts make up a dumpy level.
Indeed, the mainstay of the builders level is the telescope. The telescope provides the user with the necessary magnification to ensure they can see the graduations on a level rod, allowing them to make appropriate measurements. Stadia marks and crosshairs visible through the telescope help the operator to determine the difference in height between the level and the ground. This is done by using a level rod with graduations at appropriate heights held by a rod man.
The tribrach is an instrumental part of ensuring that your level works correctly. As well, a misaligned tribrach can be disastrous when attempting to properly use a dump level. Builders levels require a stable and level platform to work properly. Without properly using the tribrach to initially level your level, grades can be improperly set, resulting in lost time and resources.

To use a dumpy level effectively, securely mount the instrument onto a tripod and roughly level it using the tripod legs. Once stabilized, use the footscrews to center the bubble in the circular vial.
Next, aim the telescope towards the level rod held by an assistant at the point you wish to measure. Focus the eyepiece until the crosshairs and graduations appear sharp, then take a reading where the central crosshair intersects the rod. Repeat the process for multiple points to determine differences in elevation across your site.
A dumpy level’s simplicity is exactly what makes it useful across a wide range of construction and surveying tasks:
A dumpy level earns its place in a surveyor’s toolkit for a few clear reasons. It’s highly accurate for vertical measurements when set up correctly, it’s one of the more affordable instruments available, and its operation is simple enough that new crew members can learn it quickly.
That said, it comes with real limitations. A dumpy level requires two people to operate, one at the instrument and one holding the rod, so it’s less efficient than single-operator tools. It also can’t measure angles, distances, or coordinates; it only reads vertical elevation differences. And unlike automatic or digital levels, setup is entirely manual, which means accuracy depends on how carefully the operator centers the bubble and focuses the telescope each time.
When a project calls for angle measurements, a total station or theodolite is the better choice. When speed and single-person operation matter more than long-range precision, a laser level is often more practical. And when a project needs GPS-based positioning across a wide area rather than point-to-point elevation checks, a GNSS receiver is the right tool instead.
Dumpy levels are a cost effective, and easy way to set level points and check elevations. Although useful, before purchasing a builders level, one must keep in mind the limitations of a builders level. Although useful for vertical measurements, a level cannot measure distance, position, or angles. For instruments capable of performing those functions it may be more useful to check out RTK GPS and RTK receivers, total stations, theodolites and robotic total stations. Always know what you expect from your equipment, and what your equipment is capable of before purchasing anything.
A builder’s level is an optical instrument used to determine height differences and establish level reference points across a construction or surveying site. It allows operators to measure vertical grades accurately.
Common types include dumpy levels, automatic levels, laser levels, and digital levels. Each of them gives varying degrees of automation and accuracy depending on project requirements.
A dumpy level is primarily used to measure elevations and transfer or set heights for tasks such as foundation work, drainage planning, and landscaping.
A dumpy level requires manual sighting through a telescope. A laser level projects a visible laser beam to provide reference lines. Laser levels are faster to set up, but dumpy levels often deliver higher precision in long-distance work.
No, a dumpy level cannot measure angles. It is designed strictly for vertical leveling and elevation readings.
Yes, once properly set up, a dumpy level is straightforward to operate.
A dumpy level is also referred to as a builder’s level or optical level.
Bench Mark Equipment & Supplies is your team to trust with all your surveying equipment. We have been providing high-quality surveying equipment to land surveyors, engineers, construction, airborne and resources professionals since 2002. This helps establish ourselves as the go-to team in Calgary, Canada, and the USA. Plus, we provide a wide selection of equipment, including global navigation satellite systems, RTK GPS equipment, GNSS receivers, and more. We strive to provide the highest level of customer care and service for everyone. To speak to one of our team today, call us on 403-286-0333 or email us [email protected]
